User Interface
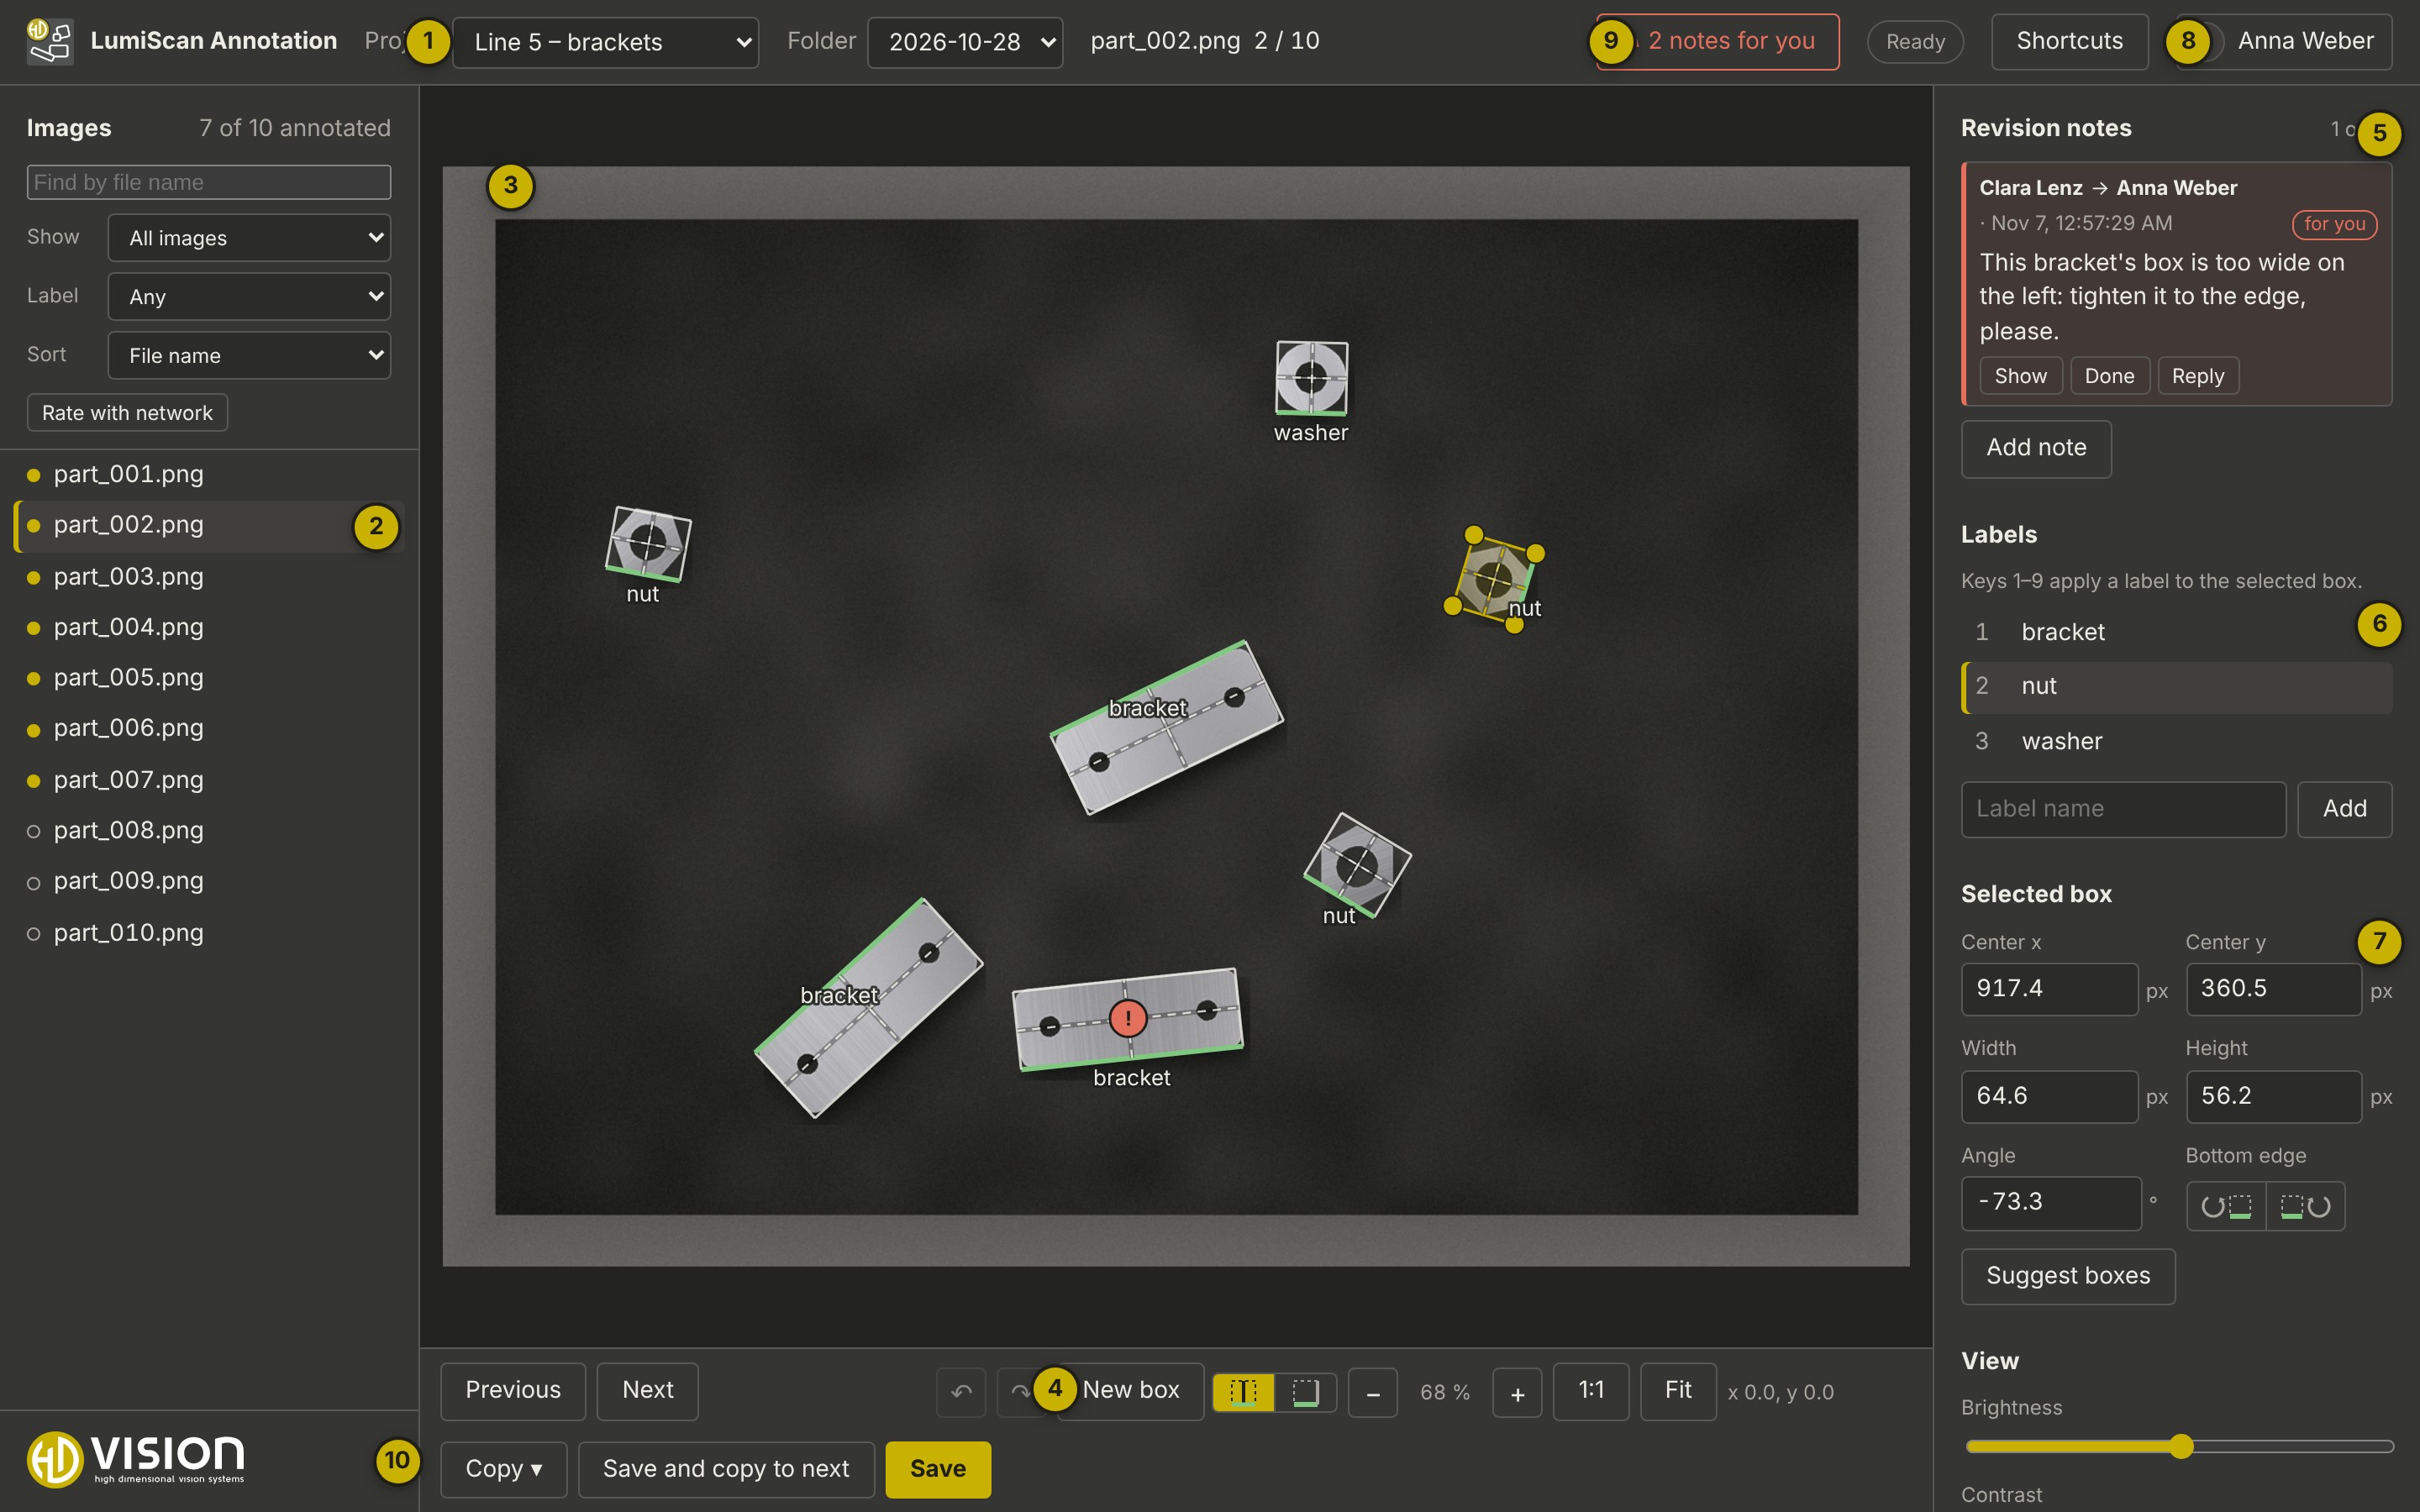
After signing in, the browser shows the open project with its image list on the left, the image in the middle and the panels on the right.
| No. | Element | Description |
|---|---|---|
1 |
Project and folder |
Project: the projects you take part in (hidden with only one). Folder: the sub-folders of the project, usually one per day. Next to it: the open image and its position in the folder. |
2 |
Image list |
All images of the folder. A filled dot: the image has boxes; a hollow dot: not yet. A name in red: that person is editing the image right now. ✎ with a number: open revision notes. ✓: marked as done; VAL / TEST: the image is in the validation or test set of the export. Above the list: + Add images (project admins, see Adding Images), search by file name, Show, Label, Set and Sort, and Rate with network, see Finding and Sorting Images. |
3 |
Image area |
The open image with its boxes. The green edge is the bottom of each box, the label is written next to it. The selected box is yellow with four corner handles. Mouse wheel: zoom; drag an empty area: move the image. |
4 |
Toolbar |
Previous / Next image, undo ↶ and redo ↷, New box with the switch for the drawing mode (center-line or edge rectangle), zoom − / + with the current zoom, 1:1 (one screen pixel per image pixel), Fit, and the mouse position in image pixels. Copy ▾ (copying boxes), Mark done (Shift+D: mark and go on), Save and copy to next and Save below. |
5 |
Revision notes |
Instructions left on this image, see Revision Notes. Add note leaves one. |
6 |
Labels |
The labels of the project; the number is the key that applies it. Clicking a label applies it to the selected box and to new boxes. Add adds a label to the shared list. ▭: the label has a box template; Place … template (T) places it. |
7 |
Selected box |
Centre, width, height (in pixels) and angle (in degrees) of the selected box, editable, and the Bottom edge buttons that turn the 0° side; Save as template (project admins). Suggest boxes below, if a box suggestion service is configured. Further down: View (brightness, contrast, show labels, show center lines, magnifier) and History. |
8 |
User menu |
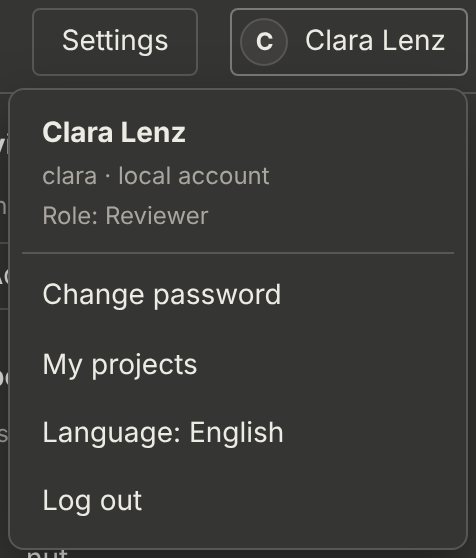
Your name and roles; Change password (local accounts), Projects and Users and sign-in (admins), Language (see Languages and Translations), Log out. |
9 |
Notes for you |
Number of open revision notes addressed to you in this project. Click to open the next one. |
10 |
Logo |
Stays at the bottom of the image list; only the list scrolls. |
Depending on your role and the project, the top bar also shows:
-
Annotate / Review: switch between your own annotation and the comparison of the annotators (with several annotators per image, if you have both roles).
-
Statistics: agreement between the annotators (reviewers).
-
Export: the annotated images as a LumiScan Training project or in the COCO format, see Exporting the Annotations (reviewers, project admins).
-
Version … available: a newer version is out (single-PC installation, project admins).
-
Settings: labels, region of interest, several annotators, box suggestions (project admins).
-
Shortcuts: the list of keyboard shortcuts.
-
The status: Ready, Saved …, messages and errors.