Single-PC Installation
For one person on one PC, for example a laptop at the production line, a PC without network or a trial, LumiScan Annotation Web runs on that PC only. It is the same program as on a server, in a window of its own and without sign-in.
Installing
-
Run the LumiScan Annotation Web setup (
setup.exe) and follow it. It installs intoC:\Program Files\LumiScan Annotation Weband adds LumiScan Annotation Web to the start menu and the desktop. The Visual C++ runtime is installed with it if missing. -
Start LumiScan Annotation Web. The window opens maximised; there is no sign-in.
-
Add your images under your name → Projects → New project, choosing an existing image folder or a new one, as described in Projects.
Requirements: Windows 10 or 11 (64 bit) with the Microsoft Edge WebView2 Runtime, which is part of Windows 11 and of current Windows 10 installations. Without it, LumiScan Annotation opens in the default web browser instead.
Working
Everything works as on a server, with these differences:
-
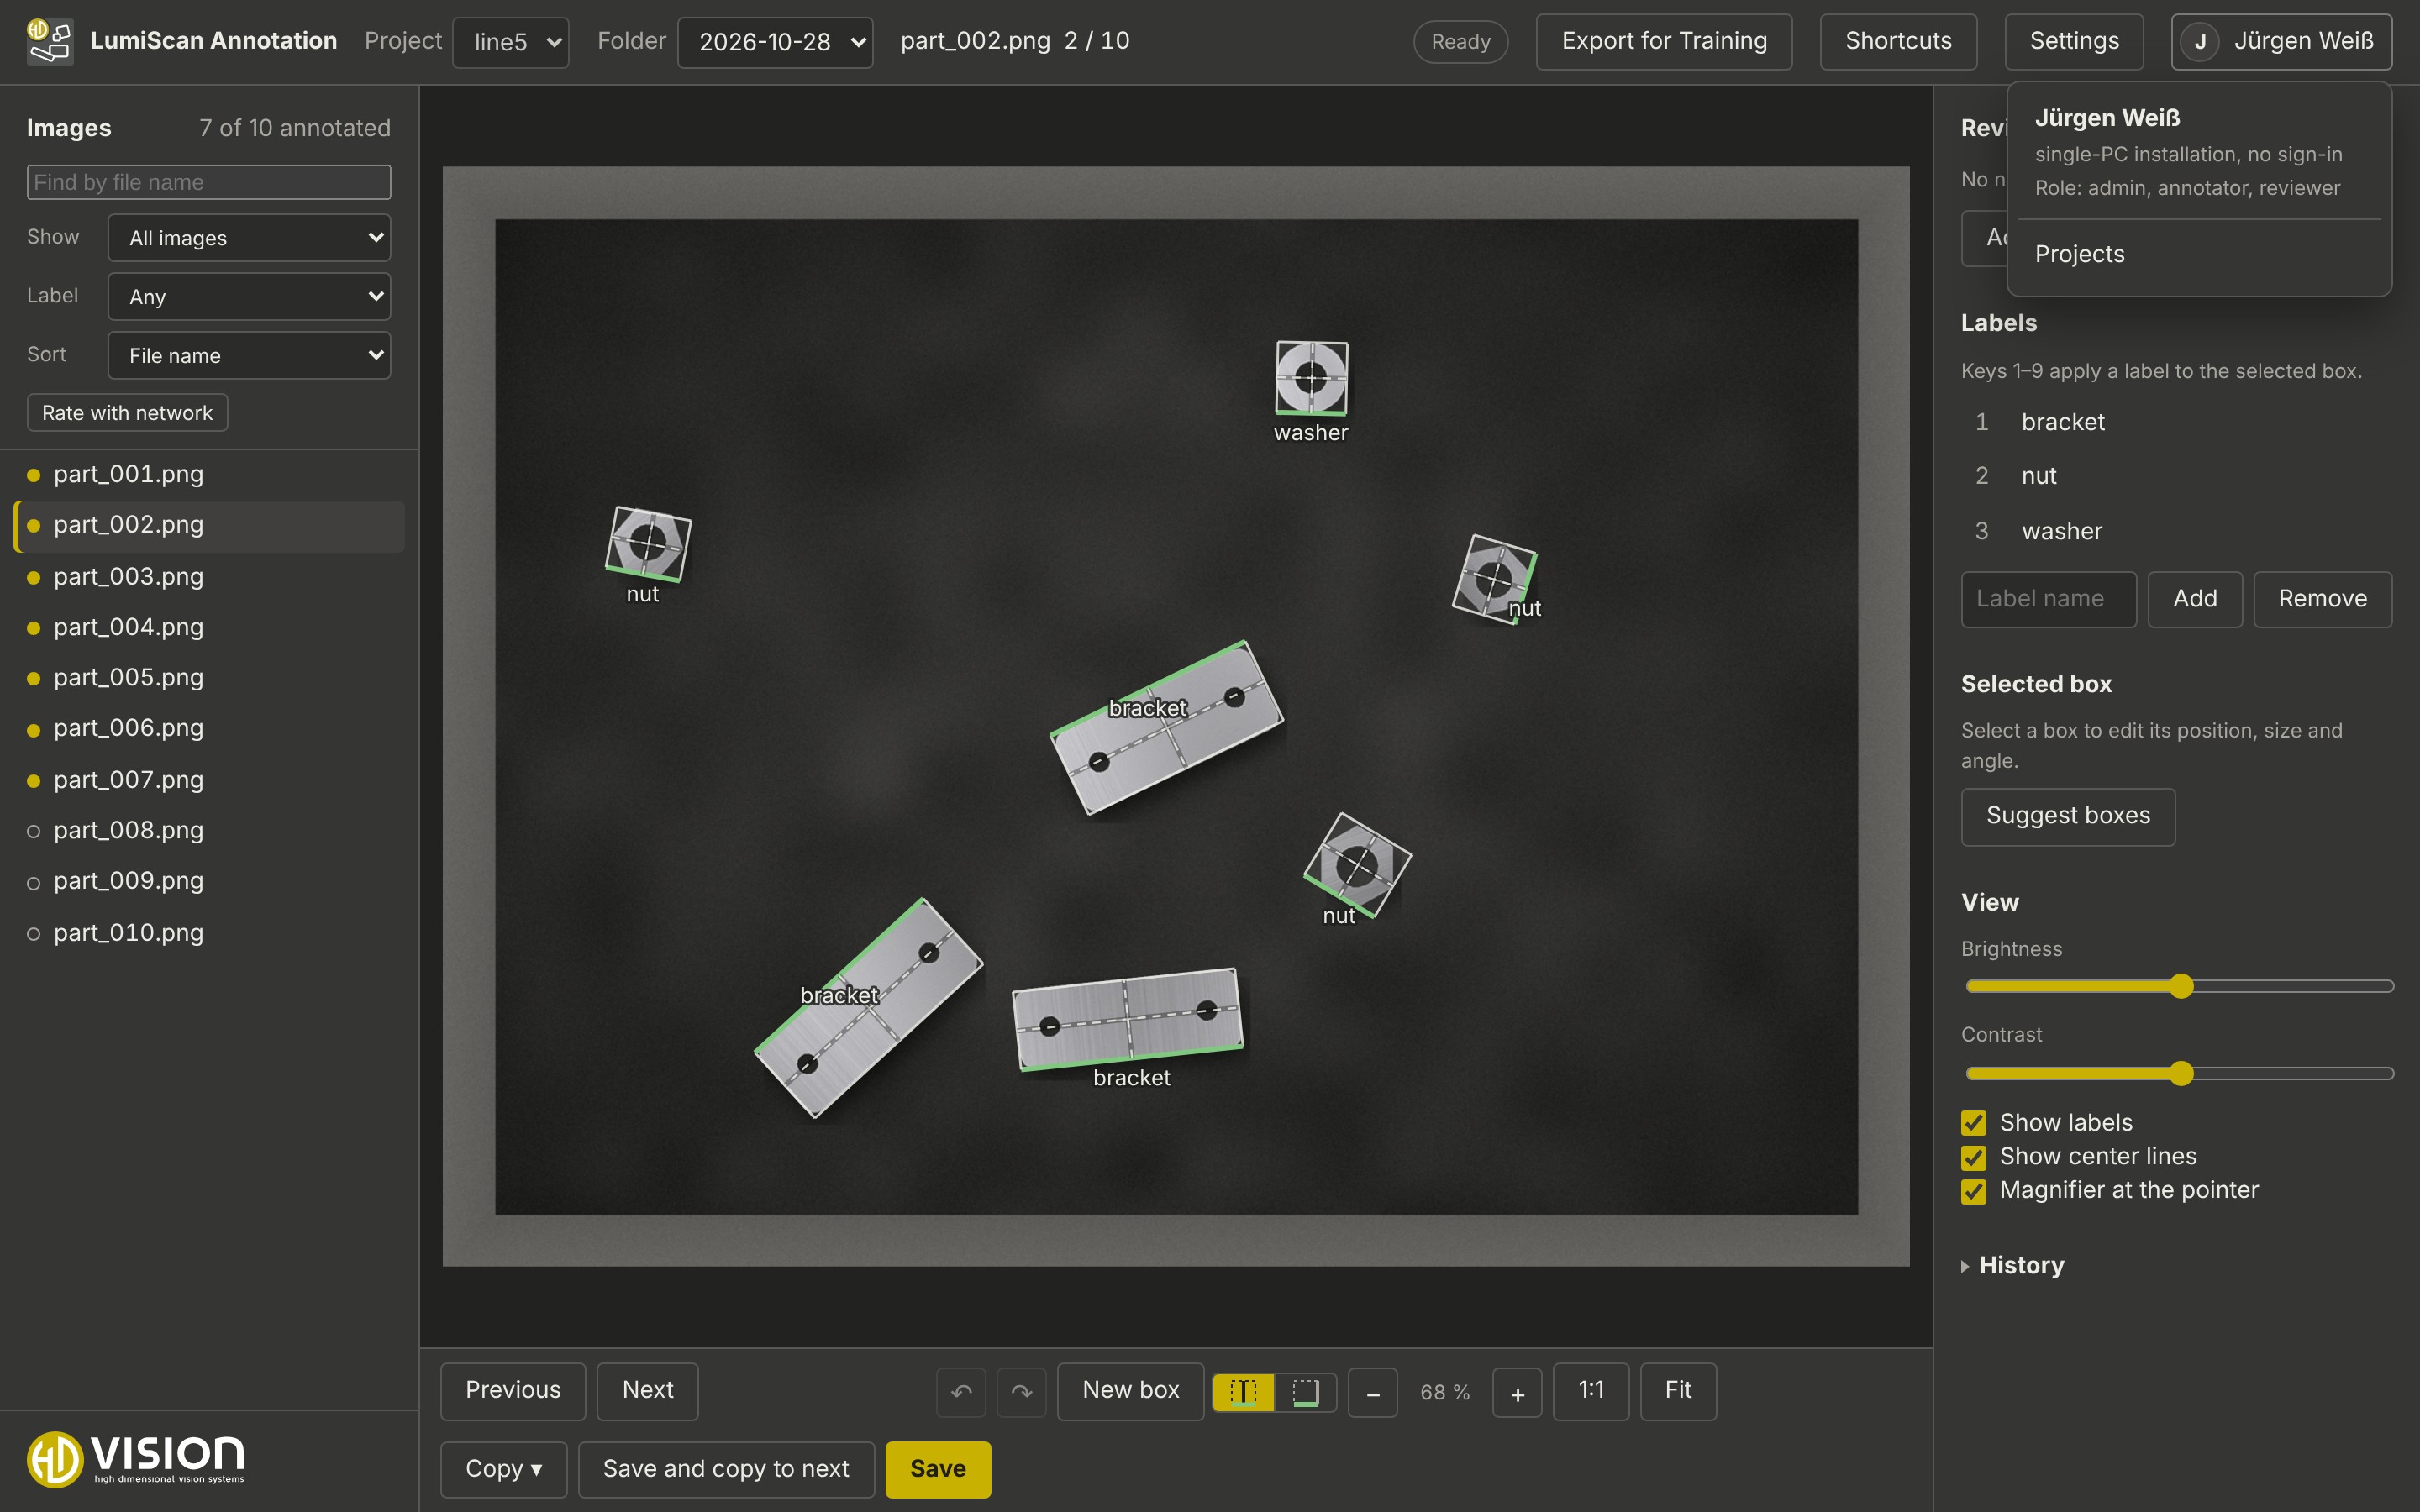
There is no sign-in. You are the local account, named after your Windows user, and hold every role: annotator, reviewer and admin.
-
The user menu says single-PC installation, no sign-in; there is no Log out, Change password or Users and sign-in.
-
Closing the window with unsaved changes asks first: Save, Discard or Cancel. Closing stops LumiScan Annotation.
-
Starting it a second time brings the open window to the front.
-
Only this PC can reach it (127.0.0.1). Other PCs cannot open it, even in the same network.
Data folder
Everything the program writes is in your user profile:
%LOCALAPPDATA%\HD Vision Systems\LumiScan Annotation Web\
    config.json      configuration (created at the first start)
    networks\        trained networks for box suggestions
    projects\        projects created here (images you add, annotation files)
    backups\         automatic backups
    logs\            log files
Image folders you add as projects stay where they are; their annotation files are written next to the images, as on a server.
Box suggestions without a server
The single-PC installation runs your trained networks itself, without a box suggestion service:
-
Copy the exported network folder from LumiScan Training (with
network.onnxandnetwork_description.json) intonetworks\in the data folder, for examplenetworks\line-5-parts\. -
Close and start LumiScan Annotation again.
-
In the project settings, choose the network under Box suggestions.
Suggest boxes (P) and Rate with network then work as on a server. The networks run on the processor; how long one image takes depends on the network and the PC.
Licence
Depending on your licence, LumiScan Annotation needs the LumiScan Key (a CodeMeter USB key) plugged into this PC. Without a valid licence the app says so and stops accepting changes until the key is back.
Updates
Once a day LumiScan Annotation looks on docs.hdvisionsystems.com whether a newer version is out. If so, Version … available appears in the top bar; it links to the release notes. Nothing is downloaded or installed by itself: install the new setup over the old one, your data stays.
To switch the check off, set "update_check": false in config.json.