Menu

You can select ROI Settings, Settings, and Help from the menu.
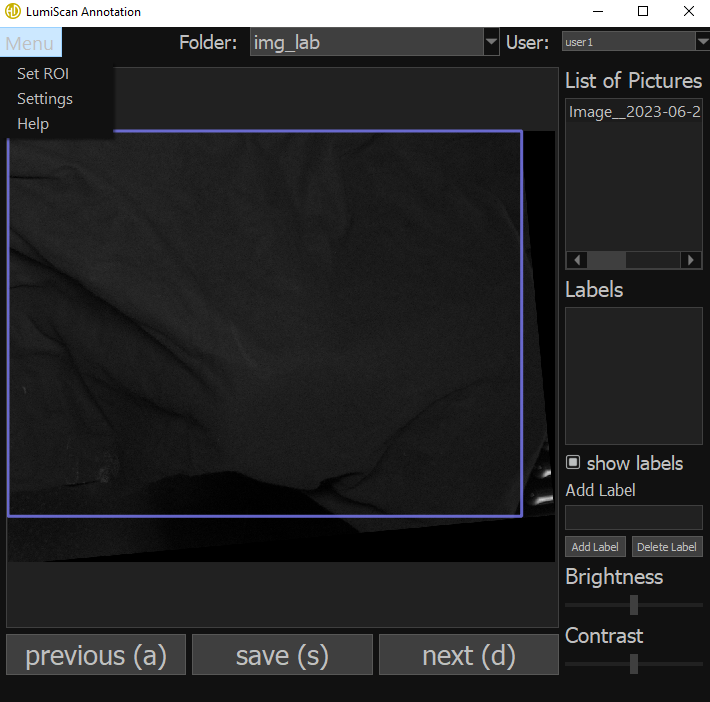
A dark, textured fabric is displayed within a software interface labeled LumScan Annotation, showing options for folder selection, user input, picture list, labels, and brightness and contrast adjustments

ROI Settings

In this setting window, you can define the region of interest (ROI) for training the neural network. The ROI defines the part of the captured image in which the network will search for markers. By default, the ROI is set to the entire image size. In the center view, the borders of the ROI are colored blue.
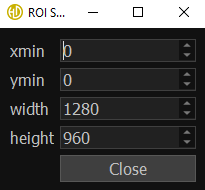
A software window titled ROI S shows input fields for xmin, ymin, width, and height with values set to 0, 0, 1280, and 960 respectively, and a Close button below

Settings

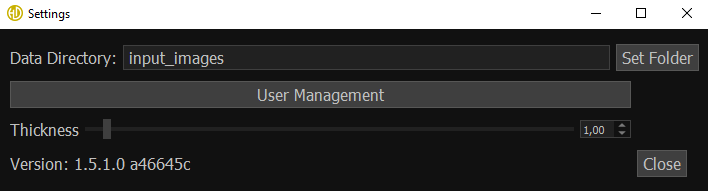
A software settings window shows options for selecting a data directory labeled Input_Images, adjusting thickness with a slider set to 1.00, and displays the version number 1.3.1.0 with buttons for setting the folder and closing the window

In this settings window you can:

  • Specify the directory from which the marker should load images.

  • Open the User Management window.

  • Modify the Thickness slider to set the thickness of the bounding box frame.

To specify an input folder, click Set Folder and select the folder that contains the images.
User Management

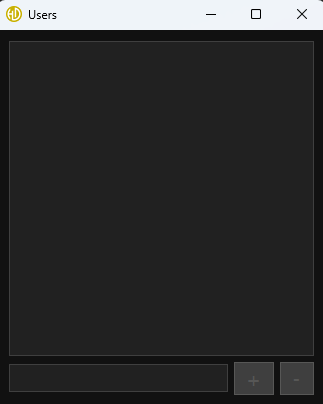
After you click the User Management button, the Users window opens, where you can add new users or delete existing ones.

To add a new user, type the desired name in the lower edit box, then click +. To delete an existing user, select the user in the list and click -.

A dark-themed user interface window titled Users with an empty main area, a text input field at the bottom, and disabled plus and minus buttons