LumiScan Training Installation
LumiScan Training is installed using a setup program whose file name begins with Installer_ and ends with the version number, for example Installer_LumiScanTrainingFramework_v2_1_0_0.exe.
The setup program contains all required components, including its own Python environment. A separate Python or Anaconda installation is not required.
If a Hailo TPU is used, install Podman and the Hailo PlugIn before installing LumiScan Training. See Installing Podman (Optional). The application uses Podman for the Model Conversion function, and the setup program reports if the Hailo PlugIn is missing during installation.
Installing Podman (Optional)
This section is only required if a Hailo TPU is used.
The Model Conversion function converts a trained network into a Hailo model. See Model Conversion: ONNX to Hailo. The conversion runs inside a container and therefore requires Podman and the Hailo PlugIn.
If you do not use a Hailo TPU, skip this section and Installing the Hailo PlugIn, and continue with Installing LumiScan Training.
| Hyper-V does not need to be enabled beforehand. The Hailo PlugIn installer checks whether it is available and offers to enable it if necessary. Hyper-V is not available on Windows Home editions, so the Hailo PlugIn cannot be used there. |
| The Hailo PlugIn includes a Podman virtual machine image built for Podman 6.0. Install a matching Podman 6.0.x CLI to ensure compatibility between the CLI and the provided image. A newer Podman CLI may still work, but is not tested with the provided image. If https://podman.io/ only offers a newer version, use Other Install Options to obtain a 6.0.x release. |
To install Podman:
-
Open https://podman.io/ in a web browser.
-
Open the Download menu and select Podman CLI for Windows amd64 (Fig. 1).
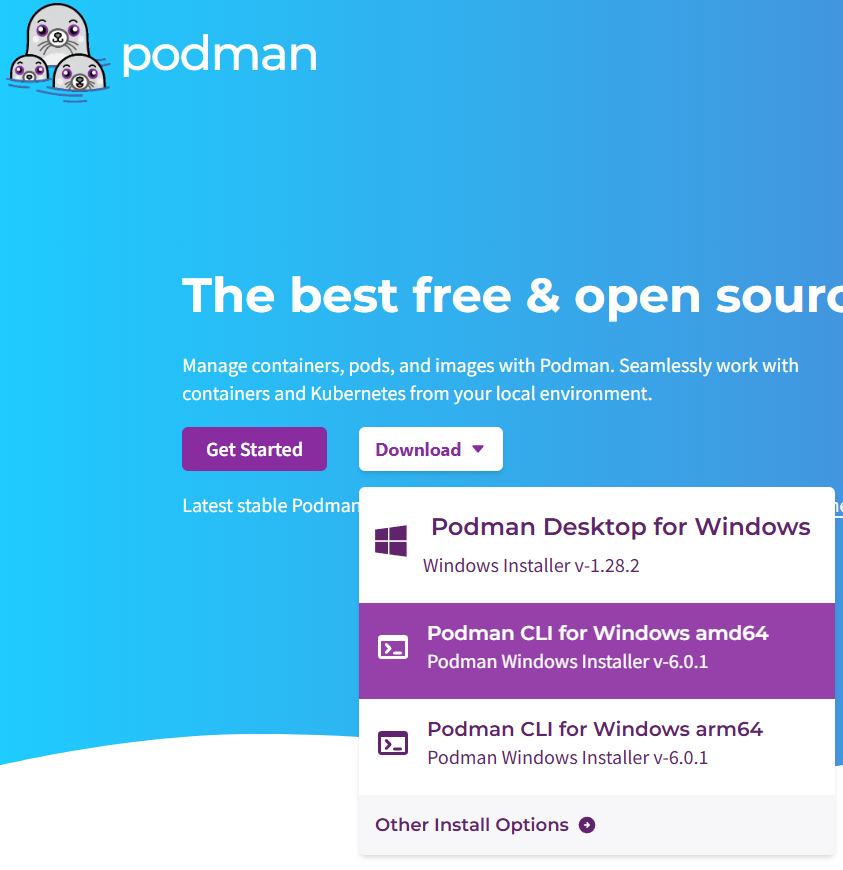 Figure 1. Fig. 1: Podman: Download of the Podman CLI for Windows
 -
Start the downloaded setup program.
-
Select Windows Hyper-V as the virtualization provider (Fig. 2), and click Next.
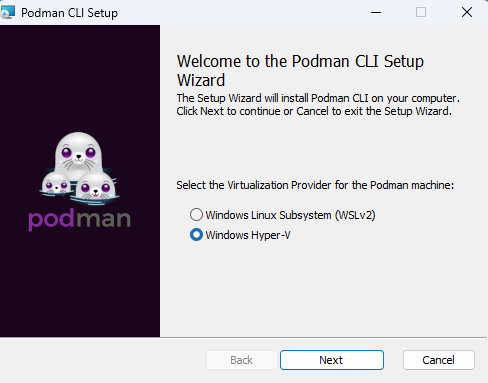 Figure 2. Fig. 2: Podman CLI Setup: Selection of the Virtualization Provider
 -
Follow the remaining installation steps and close the setup program with Finish (Fig. 3).
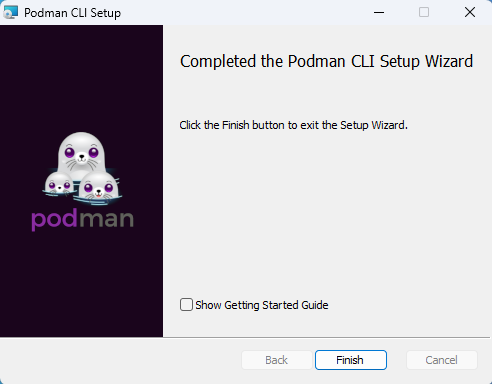 Figure 3. Fig. 3: Podman CLI Setup: Completed Installation
| Install Podman before the Hailo PlugIn, as described in the next section. The Hailo PlugIn checks its prerequisites one after another and stops at the first missing prerequisite. Installing the components in a different order may therefore require additional installation attempts. |
Installing the Hailo PlugIn
The Hailo PlugIn provides the container image used to convert a trained network into a Hailo model. Like Podman, it is only required if a Hailo TPU is used.
The setup program file name begins with Installer-LumiScanTraining-HailoPlugIn. The installer configures Podman, creates and starts a virtual machine, and loads the model-conversion image into it.
| The installation can take 10 to 20 minutes, or longer during the first installation. Do not interrupt the installation process. |
The installer requires approximately 5 GB of free disk space while it is running. The virtual machine and model-conversion image require several additional gigabytes of storage, and their storage usage may increase during operation.
To install the Hailo PlugIn:
-
Double-click the setup program and confirm the Windows prompt for administrator rights.
-
Accept the suggested installation folder or select a different one, then click Next (Fig. 4).
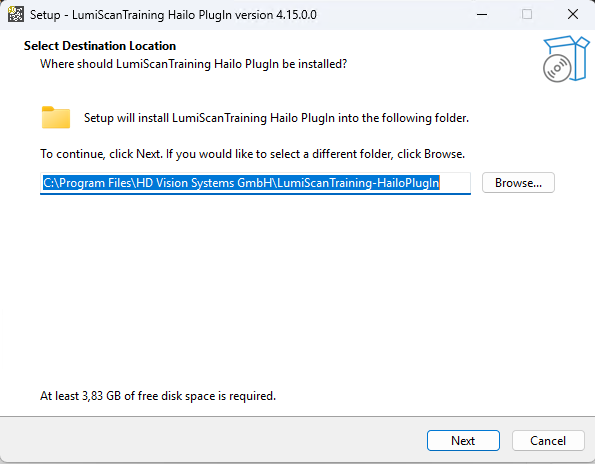 Figure 4. Fig. 4: Hailo PlugIn Setup: Selection of the Installation Folder
 -
A message describes the following installation steps and their expected duration. Confirm it with OK (Fig. 5).
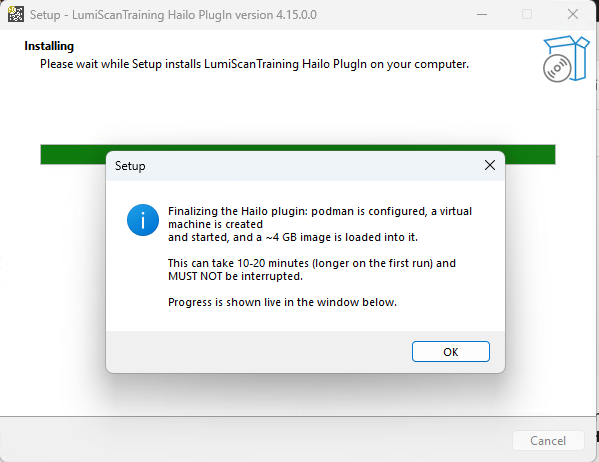 Figure 5. Fig. 5: Hailo PlugIn Setup: Installation Duration
 -
Windows Firewall may report that features of
podman.exehave been blocked and ask whether network access should be allowed (Fig. 6).
It is recommended to decline this request with Cancel. Model conversion runs entirely on the local computer, so Podman does not need to be accessible from other computers on the network. Model conversion also works if network access is declined.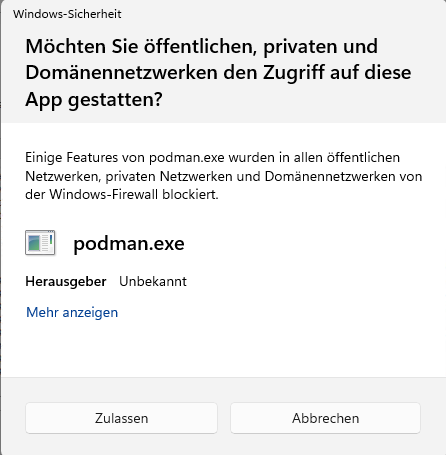 Figure 6. Fig. 6: Windows Firewall: Network Access Request for podman.exe
 -
The setup program performs the required steps and displays the progress in a live log (Fig. 7). Wait until the process is complete.
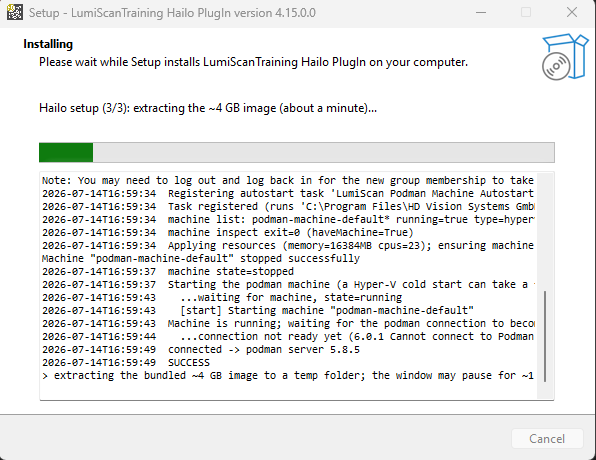 Figure 7. Fig. 7: Hailo PlugIn Setup: Installation in Progress
 -
A message confirms that the image was installed successfully. Click OK (Fig. 8).
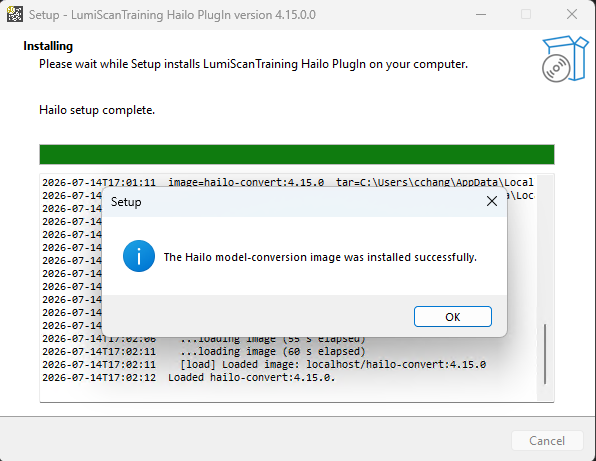 Figure 8. Fig. 8: Hailo PlugIn Setup: Successful Image Installation
 -
Close the setup program with Finish (Fig. 9).
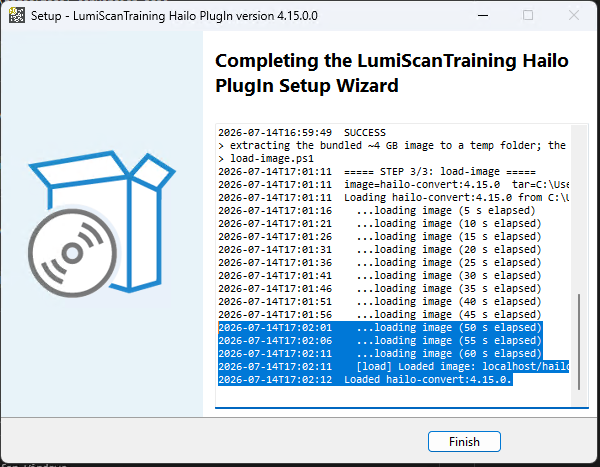 Figure 9. Fig. 9: Hailo PlugIn Setup: Completed Installation
Installing LumiScan Training
To install LumiScan Training:
-
Double-click the setup program.
-
Confirm the Windows prompt for administrator rights.
Administrator rights are required when installing to the default location underC:\Program Files. -
Select the installation language. English and German are available.
-
If the Hailo PlugIn is not installed, a message reports that the Model Conversion function will not be available.
Select Yes to continue the installation without the plugin, or No to cancel and install the plugin first. See Installing Podman (Optional). -
Accept the suggested installation folder or select a different one.
By default, the application is installed underC:\Program Files\HD Vision Systems GmbH{page-component-title}. -
Optionally, select Create a desktop icon if you want to start the application from the desktop.
-
Start the installation and wait until it is complete.
The setup program creates an entry named LumiScan Training in the Windows Start menu and, if selected, a desktop shortcut. You can start the application from either location.
If you encounter problems during installation, contact HD Vision Systems.