LumiScan File Transfer Trainer
User Interface
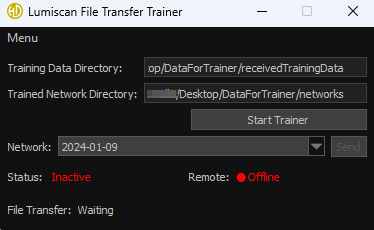
When you start the Trainer for the first time, the following window appears
(Fig. 32).
The various elements of the user interface are shown in Fig. 33 below.
They are explained in the following Table 14.
| Nr. | Description |
|---|---|
1 |
Path to your Data Directory where the images received by the Runner will be stored. |
2 |
Path to the Network Directory where the neural networks for recognition are stored. |
3 |
Button to start/stop the Trainer. |
4 |
Combo box to select which neural network to Transfer. |
5 |
Button for sending the model to the Runner. |
6 |
Display whether the Trainer has started or not. |
7 |
Indication that Runner is started and connected. |
8 |
Display of the current status of the Trainer. |
To use Trainer:
-
Set the Training Data Directory
-
Set the Trained Network Directory
-
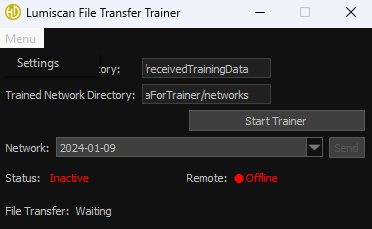
Adjust the network settings in Settings*:*
-
Click on Menu.
-
Click on Settings *(Fig. 34).*
Table 14: LumiScan File Transfer Trainer: Standard user interface
Settings
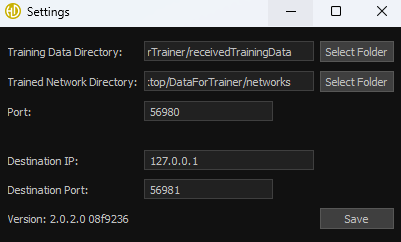
You can set the following parameters in the settings window:
-
Training Data Directory: Folder where images received by the runner will be saved.
-
Trained Network Directory: Folder containing the neural networks generated by the Trainer.
-
Port: The network port on which this tool waits for incoming file transfers. This port should be used as the destination port in the Runner. Check with your IT department about which ports you can use and which are allowed in your firewall settings.
-
Destination IP: The IPv4 address of the system on which the Runner is running. Ask your IT department how to obtain the correct address.
-
Destination Port: The network port on which the Runner waits for incoming connections.
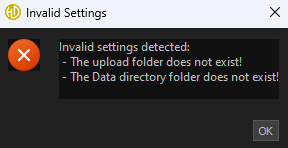
When you click the Save button, the settings are checked. If an error occurs, a message will appear indicating which setting is incorrect (Fig. 36).
If all settings have been checked successfully, they will be saved in the registry and will be automatically loaded the next time the program is started.
File Transfer
Once you have set up the trainer and successfully saved your settings, you can start the Trainer:
-
Click on the button Start Trainer.
-
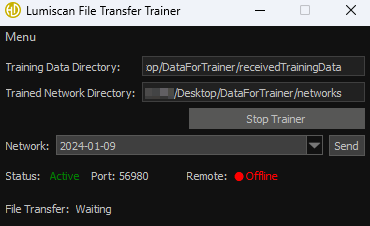
The status changes to Active (Fig. 37).
-
Next to the status, the Port parameter is displayed with the address from which the data is being sent.
-
If the connection to the Runner is successful, the Remote displays Online. (Fig. 38 ).
-
Now you can select in Network which neural network should be sent to the Runner.
-
Click on the Send button to start the transfer.
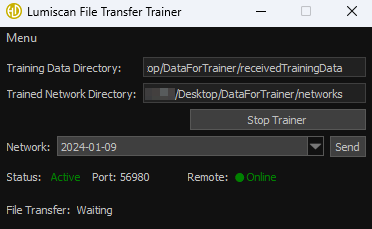
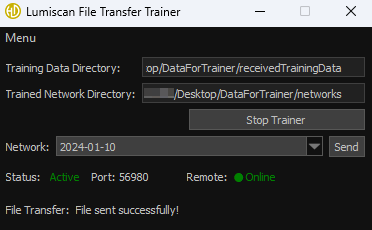
When a user sends new images from the Runner, the status bar at the bottom will notify you of the incoming data and display the current transfer progress (Fig. 39).
If the transfer is successful, the data will be saved in the data directory.
| If the camera or robot has been moved, the hand-eye calibration must be repeated. Even small movements, such as a bump on the camera, require a new calibration. |
| If this type of calibration is used, it must always be checked whether new coordinates are sent via the PLC. The coordinates can be viewed for each shot in the Pose Editor. |