Hardware Setup for ctrlX X3
This chapter applies to ctrlX OS only: it describes how to connect a camera to a ctrlX CORE X3.
Overview
The ctrlX X3 and camera can be connected using either of the following network topologies:
| Scenario | Topology | Considerations |
|---|---|---|
The camera, engineering computer, and ctrlX X3 are connected through an Ethernet switch. |
This topology makes the ctrlX X3 easier to discover and maintain. The Ethernet switch must support jumbo frames. The camera driver’s packet delay might require adjustment. |
|
The camera is connected directly to XF10. The engineering computer is connected to XF51. |
This topology can provide a more stable camera connection. However, the ctrlX X3 might not be discovered automatically by ctrlX WORKS. Record the static address assigned to XF51. |
Scenario 1: Connect Through a Shared Ethernet Switch
-
Verify that the Ethernet switch supports jumbo frames.
-
Connect the camera, the engineering computer, and port XF10 of the ctrlX X3 to the Ethernet switch, as shown below.
-
Configure the Ethernet adapter of the engineering computer with an unused address in the XF10 subnet.
For example:
IP address: 192.168.1.123
Subnet mask: 255.255.255.0
The ctrlX X3 uses 192.168.1.1on port XF10. Do not assign192.168.1.1to the camera or engineering computer. Each device must have a unique IP address. -
Continue with Complete the Camera Setup.
Scenario 2: Connect the Camera Directly to XF10
In this topology, the camera is connected directly to XF10 and the engineering computer uses XF51 for maintenance access.
| This topology can provide a more stable camera connection. However, the ctrlX X3 might not be discovered automatically by ctrlX WORKS through XF51. Record the static XF51 address so that you can access the controller directly in a browser. |
-
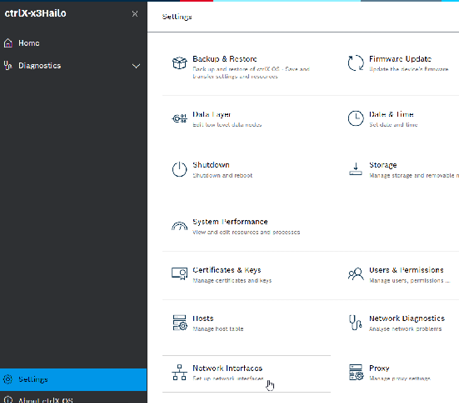
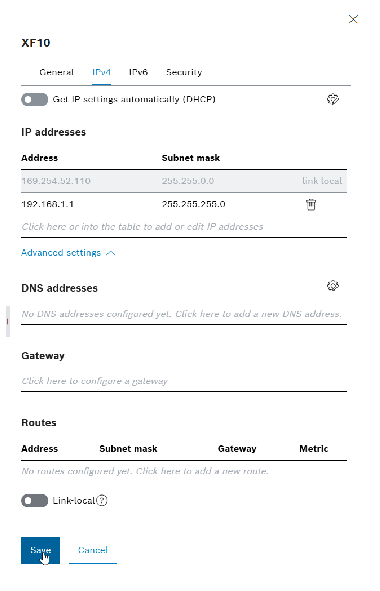
Open the following page on the ctrlX X3:
Settings > Network Interfaces > XF51 > IPv4 -
Add a static IPv4 address for XF51 and save the configuration.
For example:
IP address: 192.168.42.203
Subnet mask: 255.255.255.0
Configure XF51 on a different subnet from XF10. XF10 uses the 192.168.1.0/24network, so an address from the192.168.42.0/24network can be used for XF51. Do not configure both interfaces with192.168.1.1, or place both interfaces in the same subnet.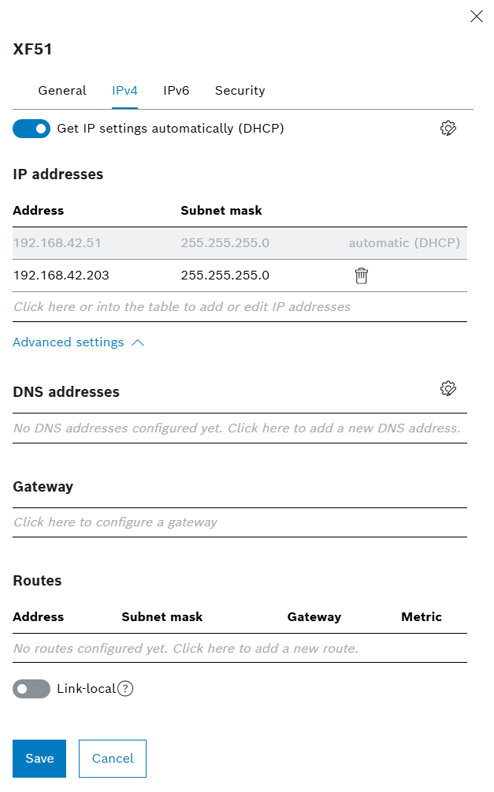
-
Connect the camera directly to port XF10.
-
Connect the engineering computer to port XF51.
-
Configure the Ethernet adapter connected to XF51 with an unused address in the same subnet as XF51.
For example:
IP address: 192.168.42.123
Subnet mask: 255.255.255.0
-
Open
192.168.42.203in a browser to access the ctrlX X3.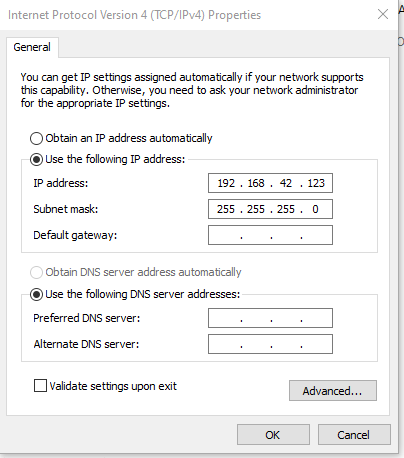
-
Continue with Complete the Camera Setup.
Complete the Camera Setup
After completing either network scenario, perform the following steps:
-
Follow Set Up the Camera IP Address to assign the camera a unique IP address.
-
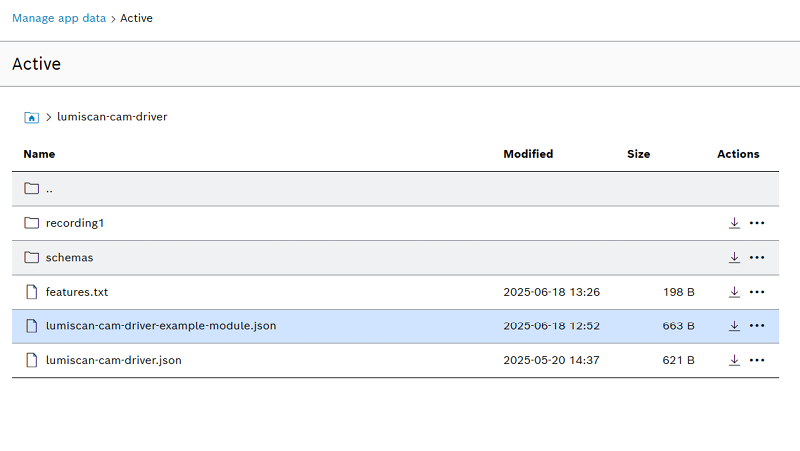
Configure the LumiScan CamDriver using either the Data Layer or the ctrlX X3 settings interface.
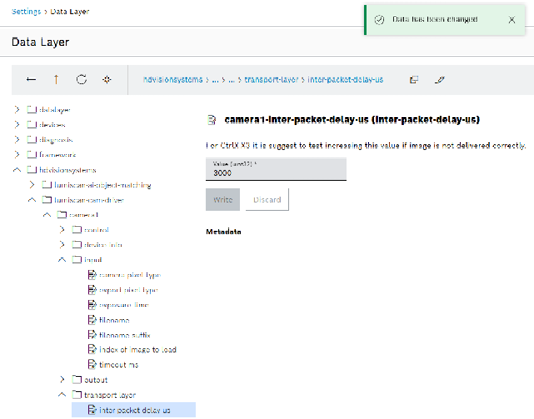
Adjust the Packet Delay
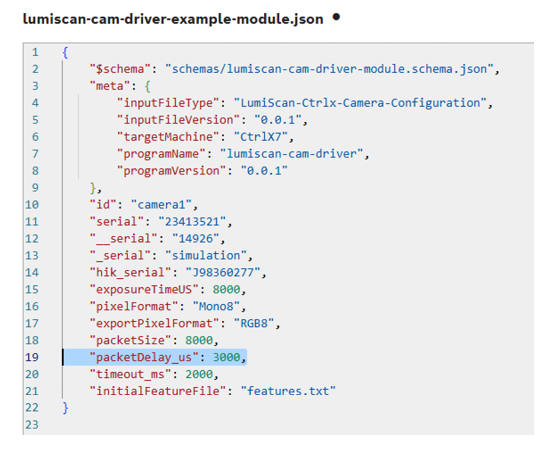
The appropriate packet delay depends on the selected network topology, the camera, and the network equipment.
Test different packet delay values and select a value that provides stable image acquisition without dropped packets or communication interruptions. Record the selected value as part of the installation configuration.