Annotating Images
Oriented boxes
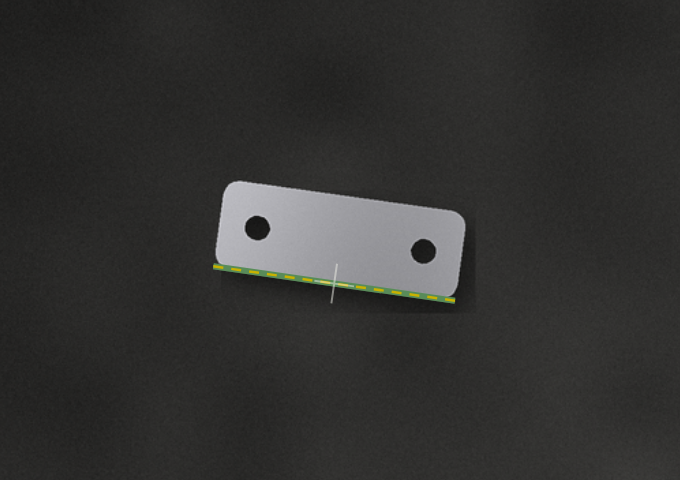
An oriented box is a rectangle that can be rotated. It has a centre, a width, a height and an angle. The green edge is the bottom of the box: it gives the box its direction. An angle of 0° means the top of the box points up; positive angles turn clockwise.
The direction matters for the training: the network learns where the bottom of an object is. Agree on a rule for every kind of object, for example "bottom where the part lies flat", and draw all boxes of that kind the same way.
Drawing a box
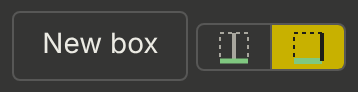
There are two ways to draw a box, with three clicks each. The switch next to New box shows which one is used:
-
N starts a center-line rectangle, E an edge rectangle. A click on one side of the switch does the same.
-
New box and a double-click on the image start a box in the mode used last. The browser remembers it for your account.
Center-line rectangle
First the center line of the box, from the middle of its bottom to the middle of its top, then the width, which spreads evenly to both sides of that line. These are the clicks of the desktop tool:
-
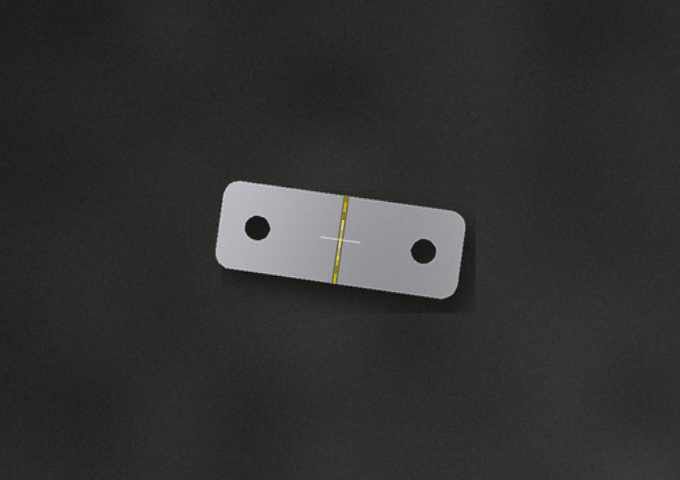
Press N and click where the bottom of the object is, or double-click there.
-
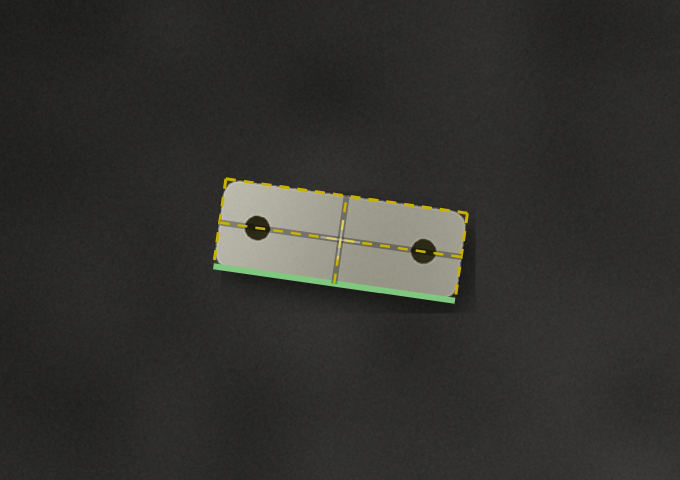
Click where the top of the object is: this draws the center line and sets the height and the angle.
-
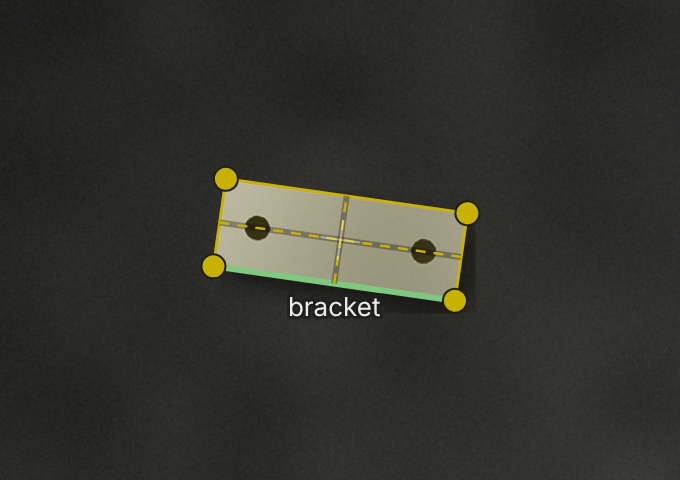
Move sideways and click: this sets the width, the same on both sides of the center line.
|
|
|
Edge rectangle
First the bottom edge of the box, then the height, on one side only:
-
Press E and click one end of the bottom edge of the object, or double-click there when the edge rectangle was used last.
-
Click the other end of the bottom edge: this sets the width and the angle.
-
Move towards the top of the object and click: this sets the height. The side you move to becomes the top, so the order of the first two clicks does not matter.
|
|
|
Which one to use
-
The edge rectangle is easier when one side of the object is a clear, straight edge, for example a part lying flat, the edge of a box or a plate, or when only one side is sharp in the image. You click on what you see.
-
The center-line rectangle is easier for long, roughly symmetric objects whose axis is obvious, such as pins, screws or cables. An error in the width is shared by both sides.
Both give the same kind of box; you can switch at any time.
The new box gets the label selected in the Labels list. Esc or a right-click cancels drawing.
Editing a box
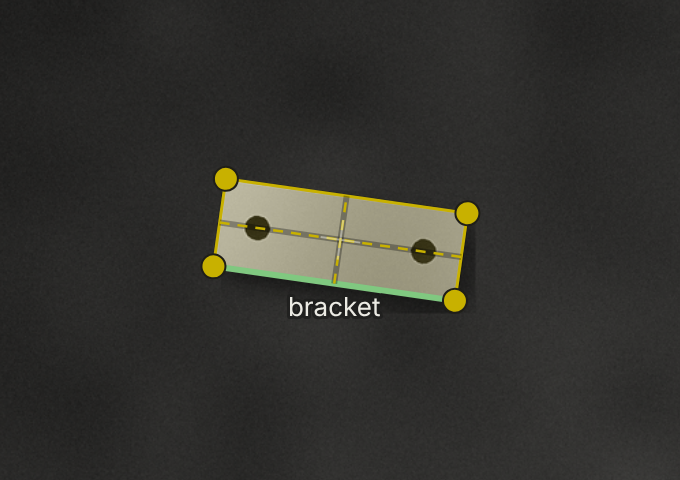
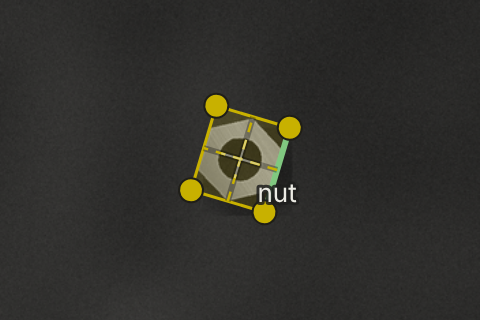
Click a box to select it. The selected box is yellow, with a handle on each corner.
Move |
Drag the box, or arrow keys (1 pixel; with Shift 10 pixels), or Ctrl / Shift + I J K L |
Resize |
Drag an edge; the opposite edge stays. Keys: Ctrl / Shift + V B (height), N M (width) by 1 / 10 pixels |
Rotate |
Drag a corner, or Ctrl / Shift + U O by 1° / 10° |
Exact values |
Type them in the Selected box panel: centre, width, height in pixels, angle in degrees |
Bottom edge |
R / Shift+R or the Bottom edge buttons: the next side becomes the bottom edge (0°), see Center lines and the bottom edge |
Label |
Number keys 1 to 9, or click the label in the list |
Delete |
Right-click, or Delete |
The browser keeps Ctrl+N for itself: use Shift+N / Shift+M for the width.
Center lines and the bottom edge
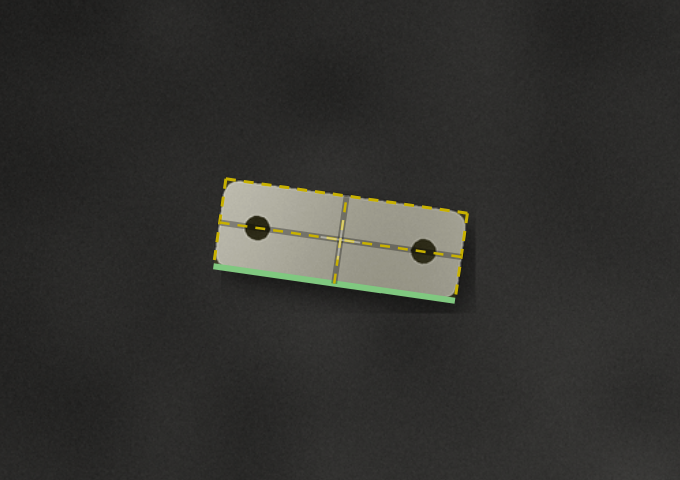
Dashed center lines run along and across every box through its centre. Where they cross is the centre of the box, for example the position where a gripper holds the part. So you can see at a glance whether the centre sits right: on a bracket, the line along the box should run through both holes. The lines are also shown in the magnifier and while you draw a box, and they never get in the way of a click. Show center lines under View, or C, switches them off and on; the browser remembers the choice for your account.
The green bottom edge is the 0° side of the box and gives it its direction. If it is on the wrong side, you do not need to draw the box again: R makes the next side clockwise the bottom edge, Shift+R the next side counter-clockwise. The two Bottom edge buttons next to Angle do the same. The outline stays exactly where it is; the angle changes by 90°, and width and height swap. Each turn is one undo step.
Precise work: the magnifier
The mouse pointer is a crosshair. Next to it, a magnifier shows the area under the pointer enlarged, with the pixel grid, the boxes and the position to 0.1 pixel. This lets you place edges with sub-pixel accuracy. M or Magnifier at the pointer switches it off and on.
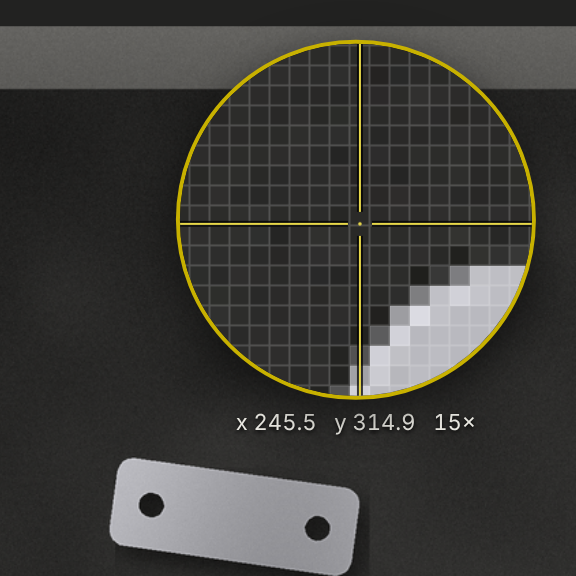
Boxes are saved to 0.1 pixel and angles to 0.001 radians, exactly as in the desktop tool.
Zoom and view
-
Mouse wheel or + / −: zoom at the pointer. F: fit the image into the window. Z or 1:1: one screen pixel per image pixel.
-
Drag an empty area, or Alt + drag: move the image.
-
Brightness and Contrast change only the display, not the image.
-
Show labels switches the label texts off for a clear view.
-
Show center lines (C) switches the center lines off and on, see Center lines and the bottom edge.
Labels
The labels are shared by everyone in the project. Add adds the name typed in the field; project admins can also remove labels and change the order in the settings. The first nine have the keys 1 to 9.
Saving
-
Save (S or Ctrl+S) writes the boxes to
<image>.csvand adds an entry to<image>.json. -
Save and copy to next (Alt+S): saves, opens the next image and copies the boxes onto it, unsaved. Useful for series where the parts barely move: correct, save, next.
-
Moving to another image with unsaved changes asks: Save, Discard changes or Cancel.
Region of interest
If the project has a region of interest, it is outlined in violet on the image. Annotate only inside it; box suggestions outside it are left out. Project admins set it in the settings.