Annotate Your First Images
This guide takes you from signing in to your first saved annotations. You need the address of the server (for example https://annotation.example.com) and an account; your administrator gives you both.
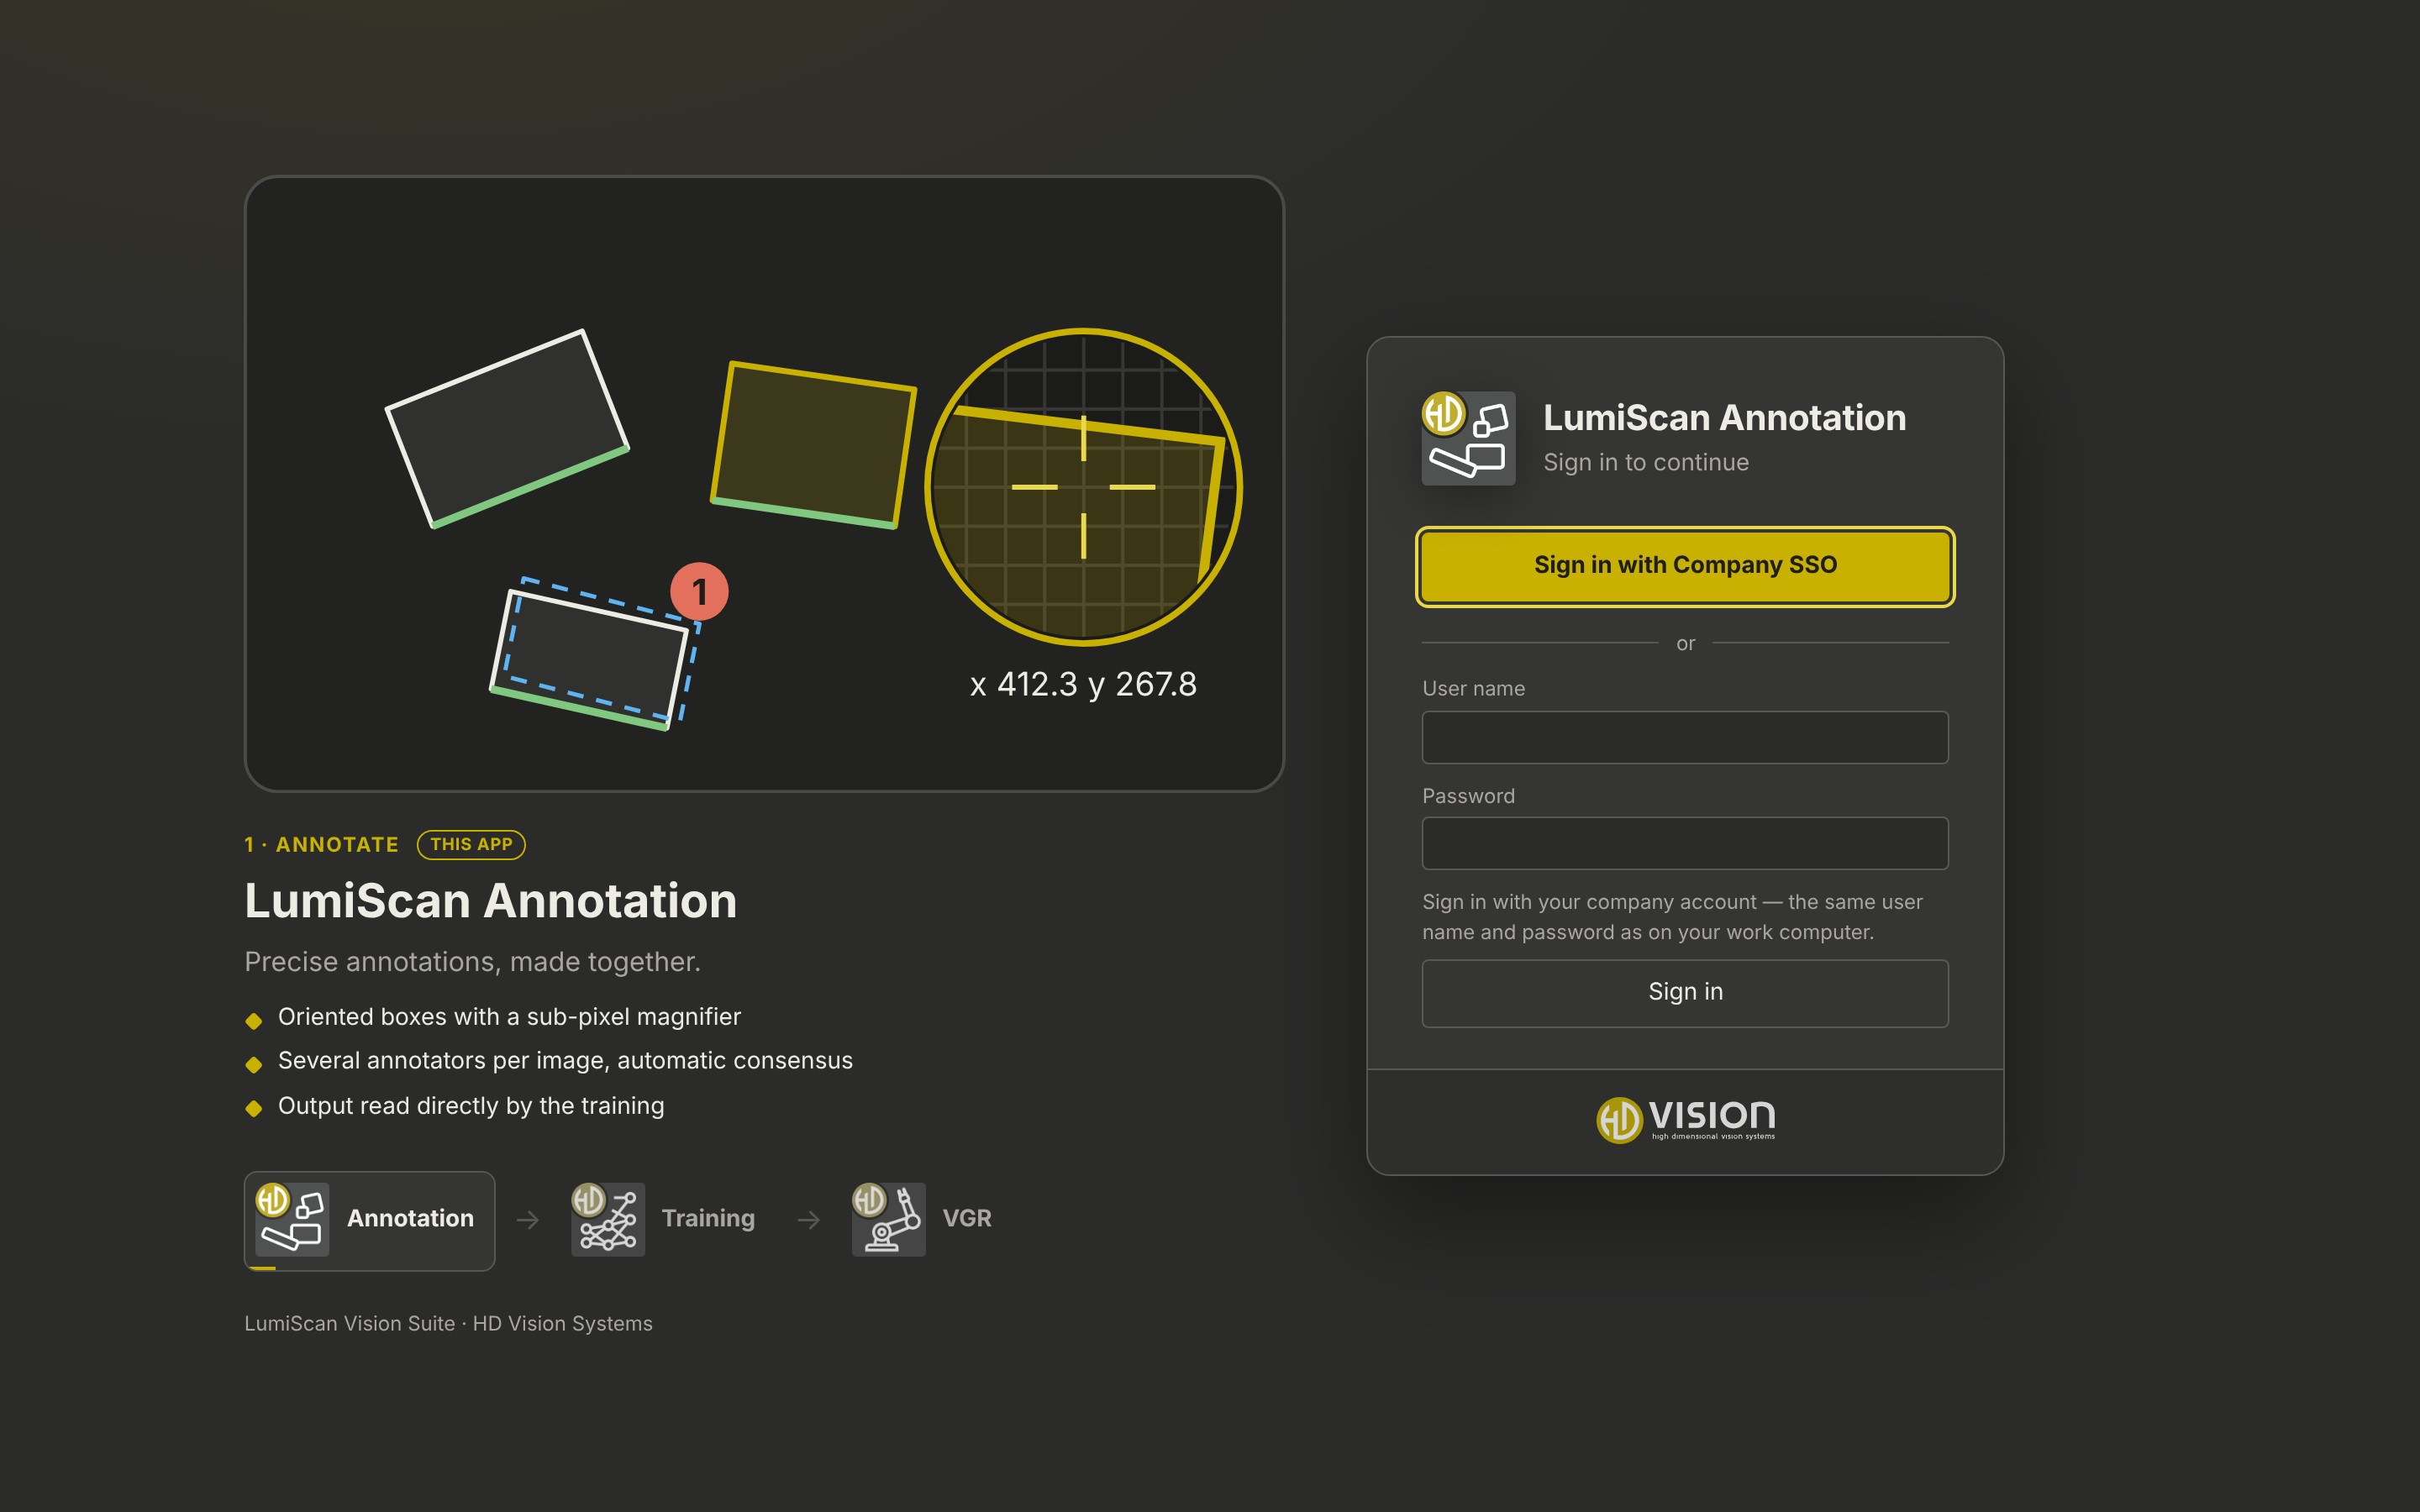
1. Sign in
-
Open the address in Chrome, Edge or Firefox.
-
Sign in:
-
with your user name and password, or
-
with Sign in with … when your company uses single sign-on.
-
-
At the first sign-in with a local account you choose your own password (at least 10 characters).
2. Open a project and an image
-
In the top bar, choose the Project. Only projects you take part in are listed; with only one, the list is hidden.
-
Choose the Folder, usually one folder per day of recording.
-
Click an image in the list on the left. Images with a filled dot have boxes already.
3. Draw a box
Boxes are drawn as a center-line rectangle: the center line from bottom to top, then the width.
-
Choose the label first: click it in the Labels list on the right, or press its number key.
-
Double-click the image where the bottom of the object is (or press N and click).
-
Click where the top of the object is. This draws the center line and sets the height and the angle.
-
Move the mouse sideways and click again. This sets the width on both sides of the center line.
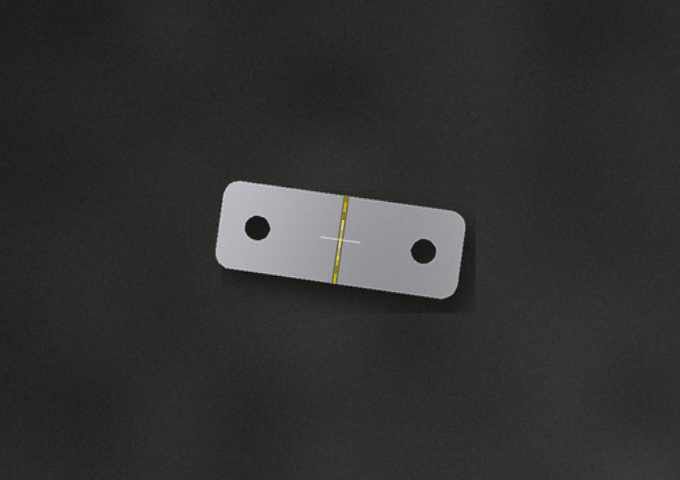
|
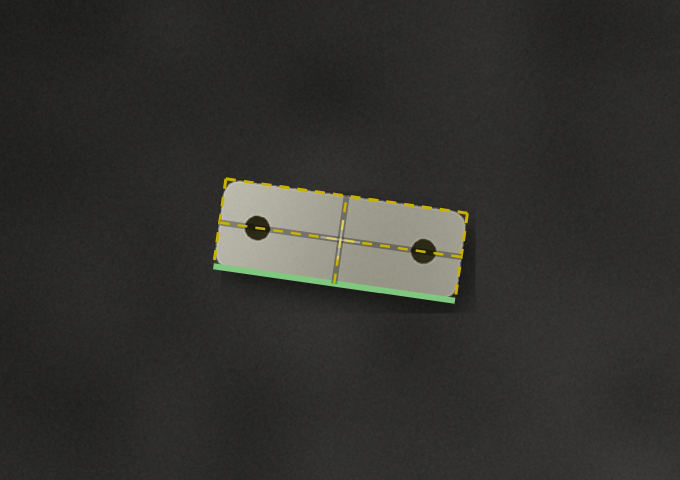
|
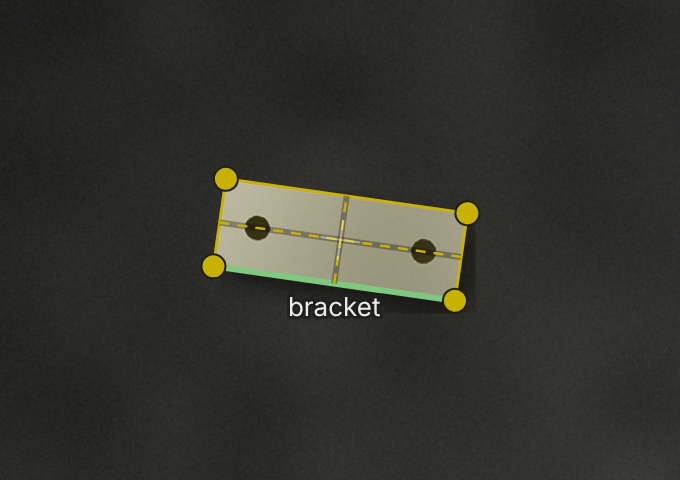
|
Click bottom, move to the top |
Click top, move sideways |
Click: the box is finished |
The green edge is the bottom of the box. Draw every object of a kind in the same direction, for example bottom always where the part lies flat. The network learns this direction.
| The magnifier next to the mouse pointer shows the pixels under it, enlarged, with the position to 0.1 pixel. Switch it off and on with M. |
4. Correct a box
-
Drag the box to move it, drag an edge to resize it, drag a corner to rotate it.
-
Keys: arrow keys move by 1 pixel (with Shift 10 pixels); see Keyboard Shortcuts.
-
Number keys 1 to 9 change the label of the selected box.
-
Right-click or Delete deletes the selected box. Ctrl+Z undoes.
5. Save and continue
-
Save (S) writes the boxes. The status in the top bar confirms it, for example Saved part_002.png.
-
Save and copy to next (Alt+S) saves, opens the next image and copies the boxes onto it: useful for image series where the parts barely move.
-
A and D open the previous and the next image. If you have unsaved changes, you are asked first.
-
Only images without boxes shows what is left to do.
Next: Annotating Images has every function in detail.